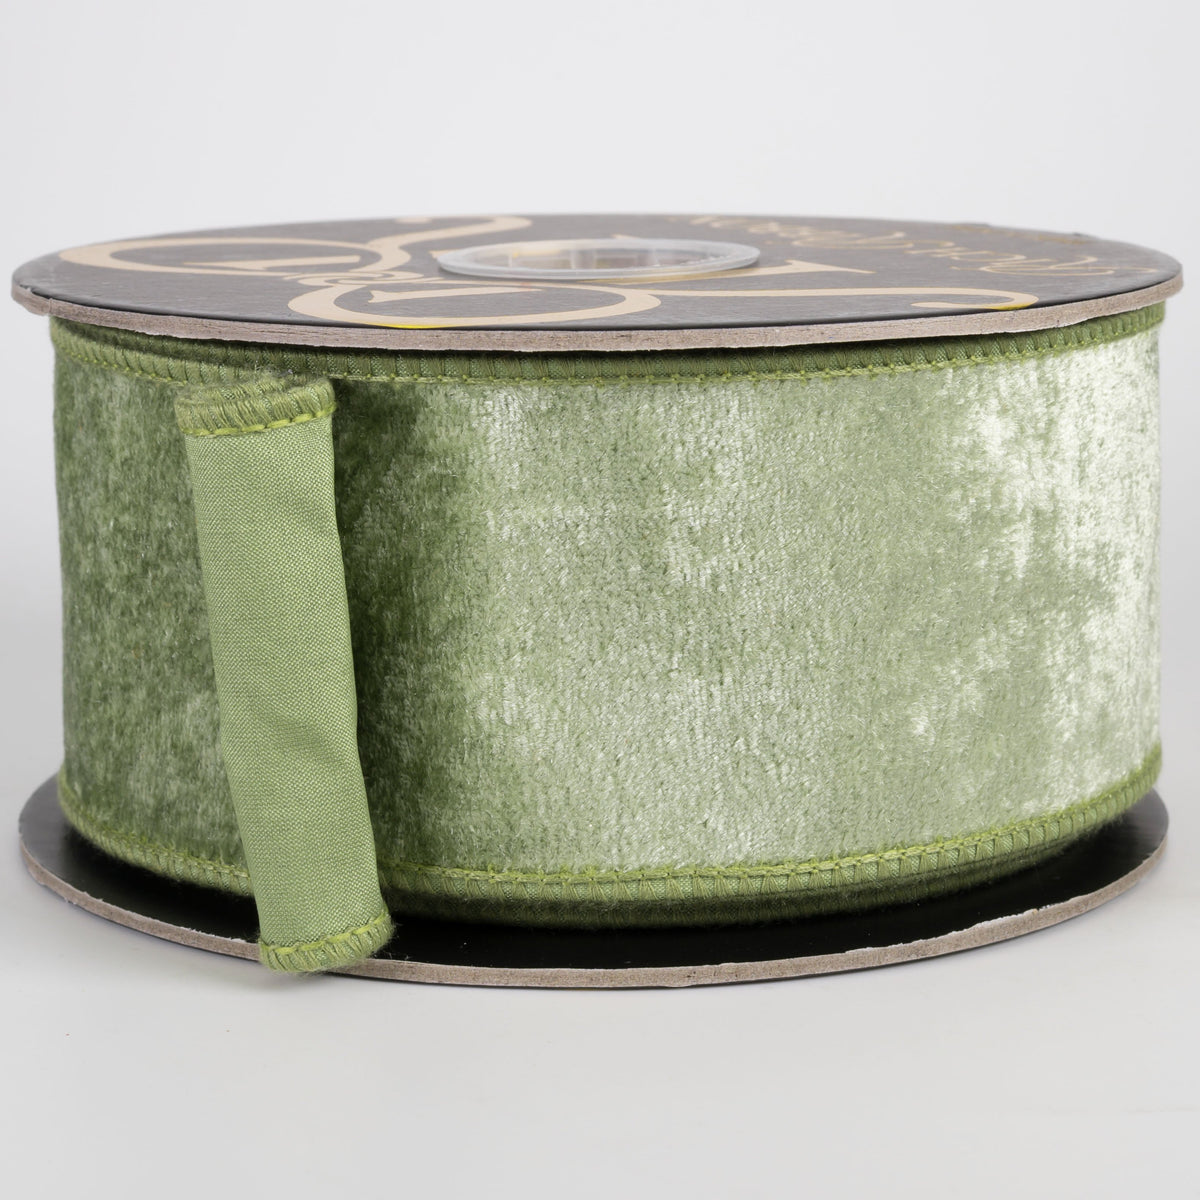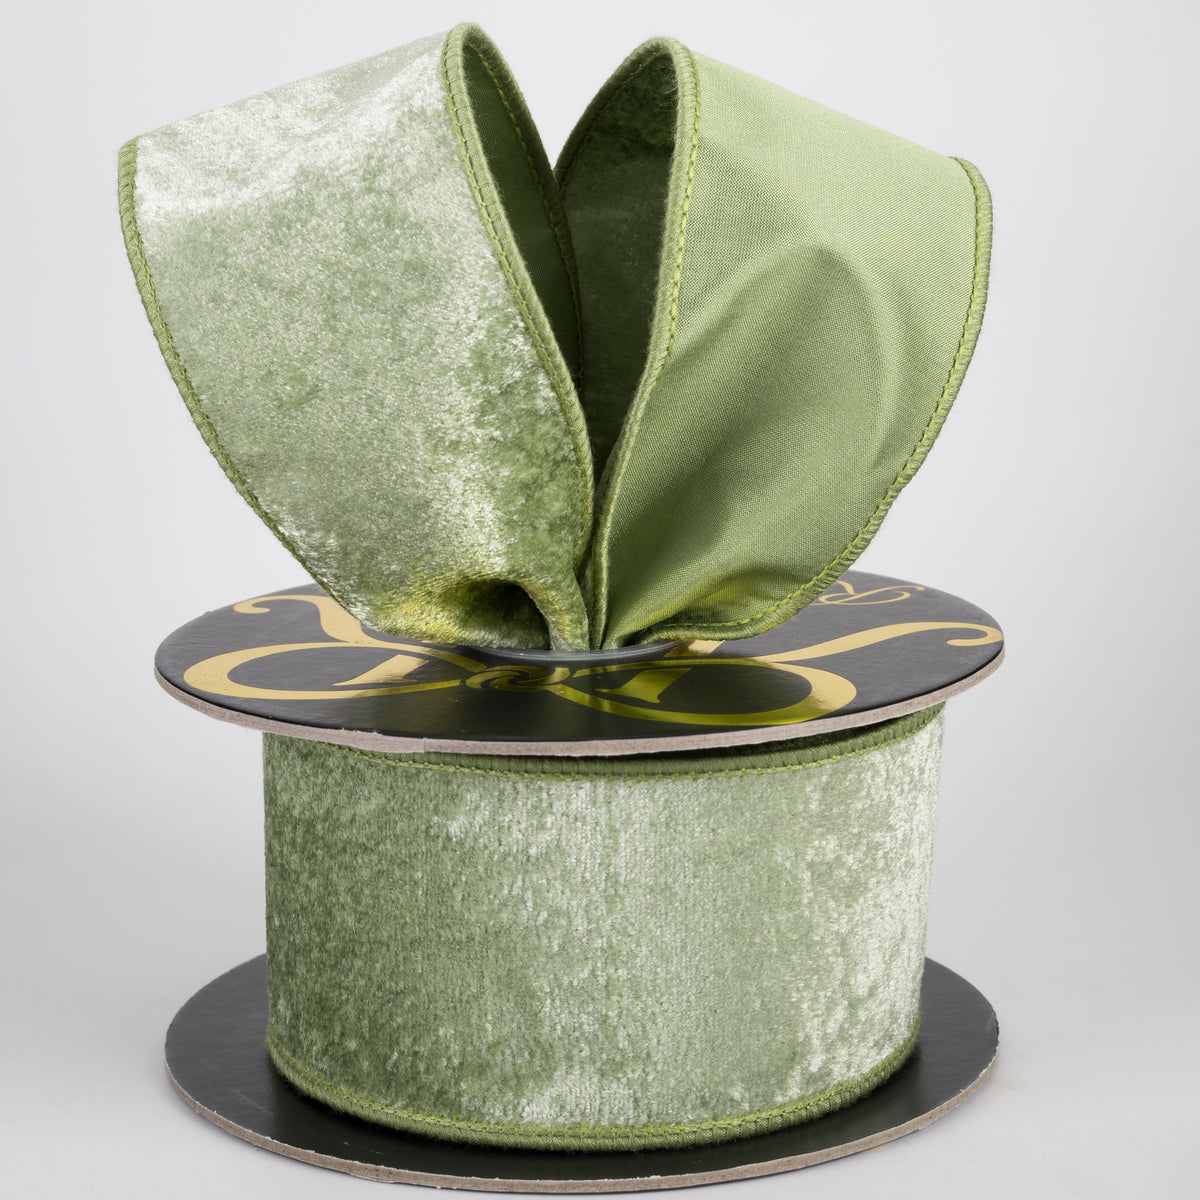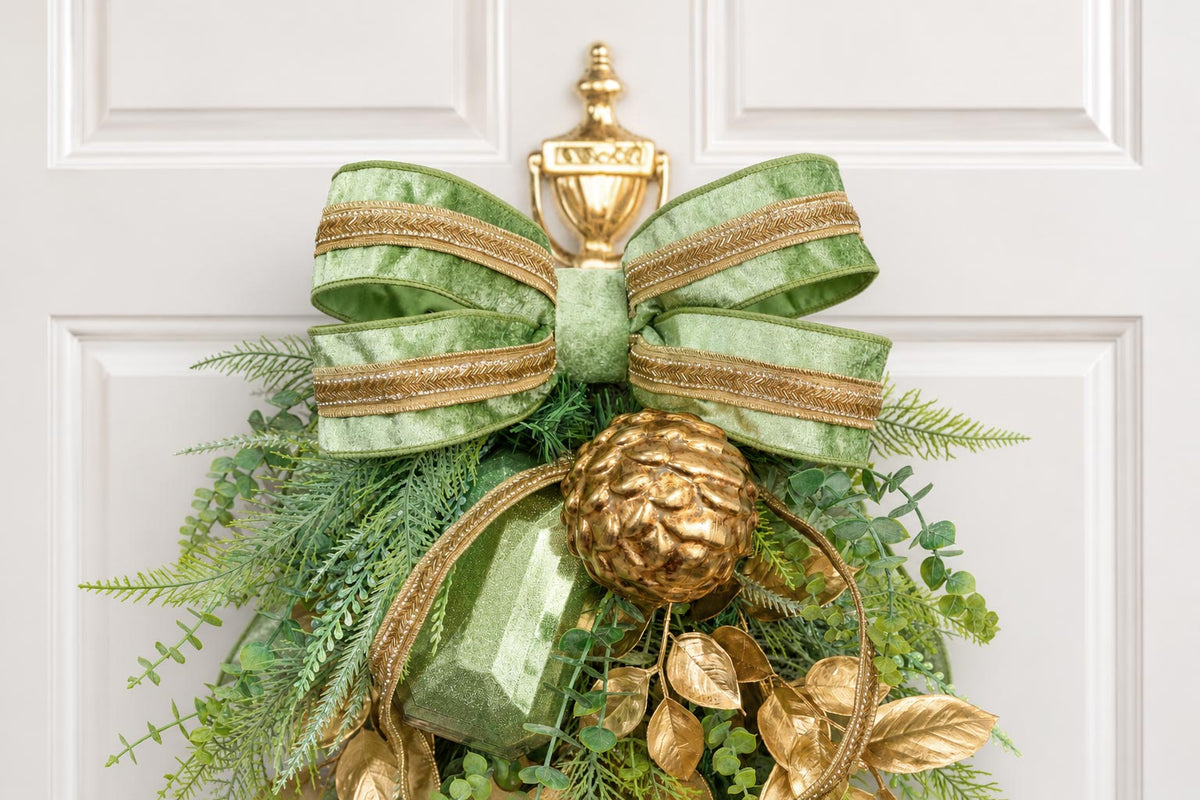
This beautiful bow uses just $9 worth of ribbon! Even better, you can make up to five of these bows from 10-yard rolls of Rich Ribbon™. That's a wonderful way to get a high-end look while making the most of your ribbon investment.
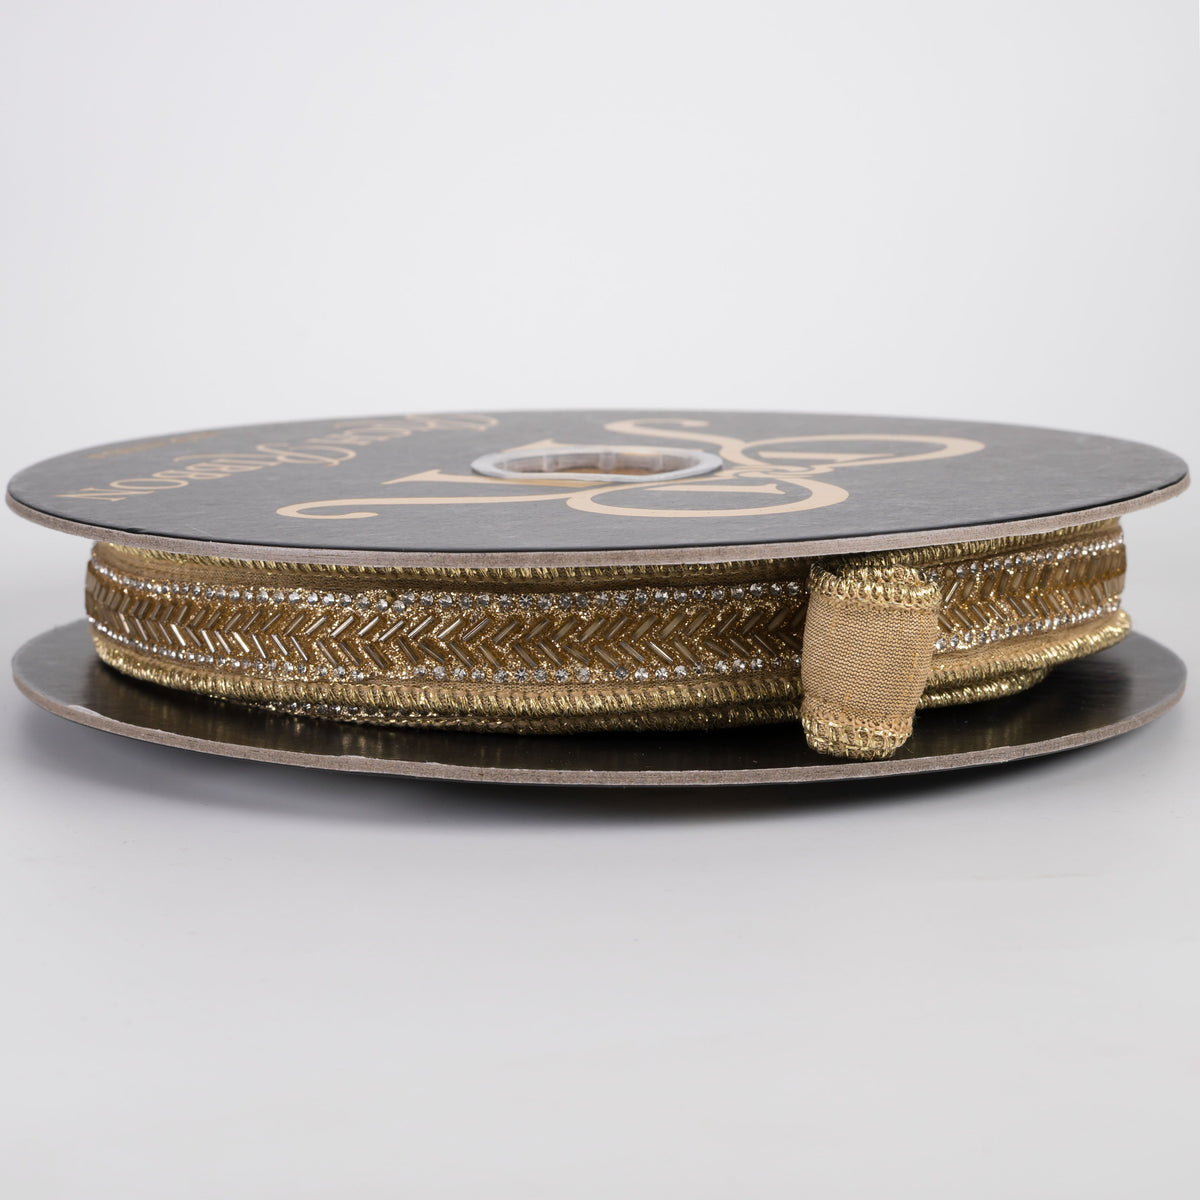
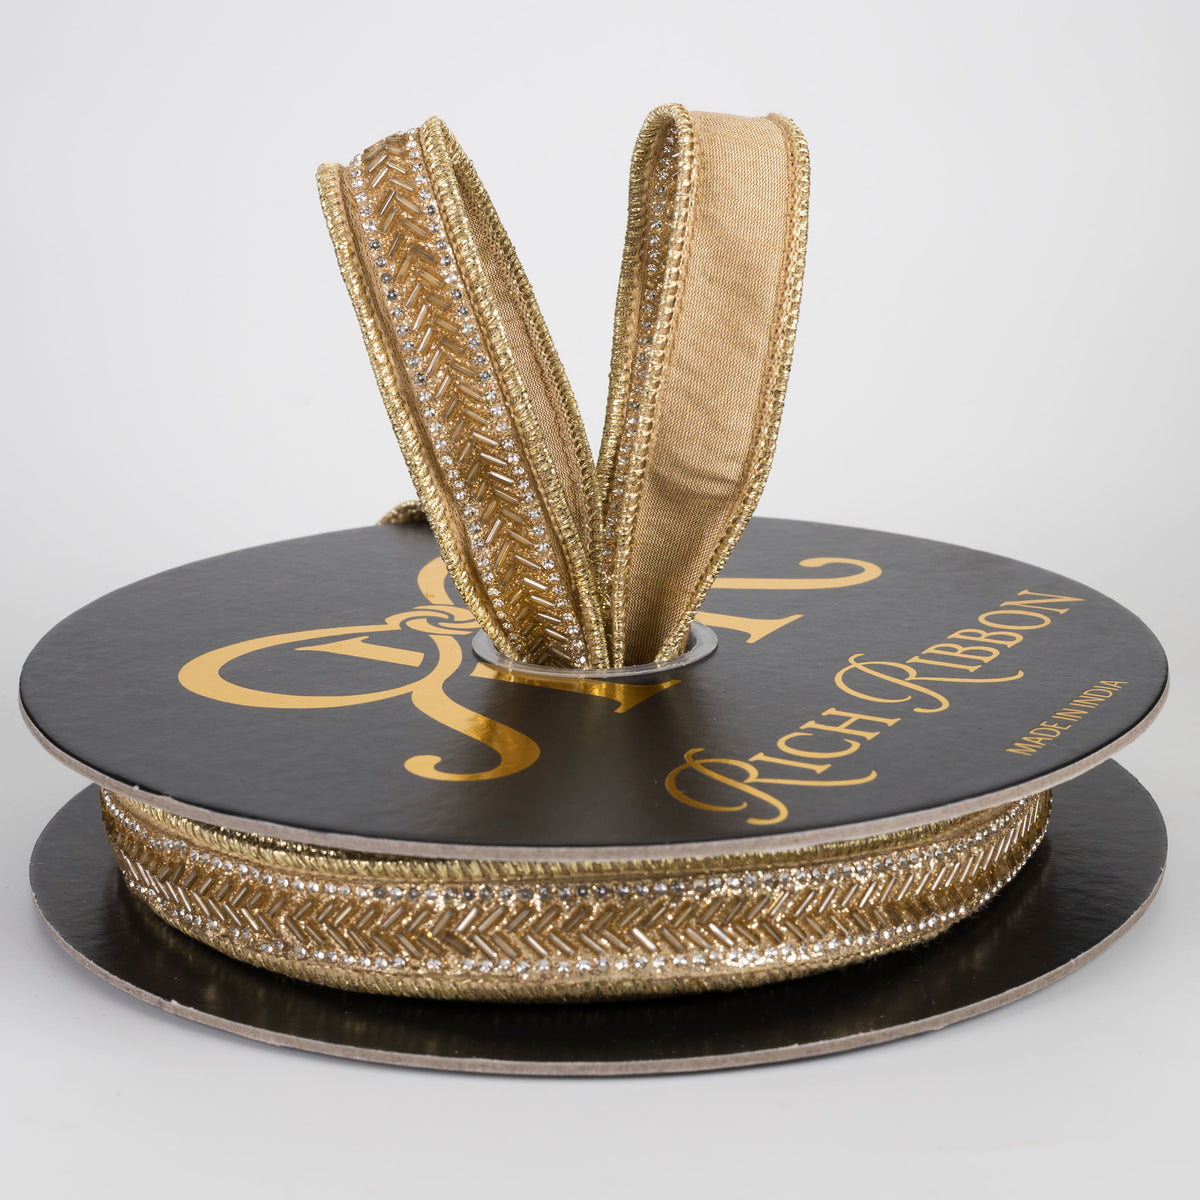
For this tutorial, I'm layering our gorgeous sage green velvet ribbon with a 1" beaded gold ribbon. The combination creates a classic, elegant bow with beautiful texture and a designer-inspired finish.
Watch the Bow Tutorial Here:
Step 1: Cut Your Ribbon
Start by cutting a 31" piece of sage green velvet ribbon and a 31" piece of the 1" beaded gold ribbon. These two pieces will be layered together to create the main bow.
Step 2: Layer the Ribbon
Center the gold beaded ribbon on top of the velvet ribbon. Use a dot of hot glue to anchor the accent ribbon. Once that's cooled, draw a line of hot glue down the center. Lay the gold ribbon on top to secure the two ribbons together, creating one beautiful layered piece. Take care to keep the decorative ribbon centered along the velvet.
Step 3: Form Your Bow
Begin folding the ribbon in half, lining up the ends. Crease the center so you can use it as a guide. Then open the ribbon and bring the ends to this center line, overlapping them a little.
Step 4: Secure the Center
Once your loops are arranged, gather the ribbon at the center into a "taco fold" and secure it tightly with wire.
Step 5: Repeat Steps 1–4
Create a second pair of loops by repeating Steps 1–4.
Step 6: Join the Loops
Lay the sets of loops next to each other and zip tie them together. Make it tight, but not so tight that they shift on top of each other.
Step 7: Make a Custom Bow Center
Cut an 8" piece of velvet. On the back side of the ribbon, lay down a line of glue along both edges. Fold the edges over, leaving some space between them. You should have about a 1.5" wide piece when you're done.
Step 8: Finish the Center
Lay the loops back-side-up (the back side is the one where the taco folds are visible). Glue down a pipe cleaner so you can attach the bow to your project.
Add more glue and wrap the center piece around the zip tie and gathered center.
This gives the bow a clean, finished appearance and hides the mechanics of the construction.
Step 9: Fluff
Start with one loop, and bend it straight up before opening and shaping. Do each loop like that, one by one. By bending it upwards first, you ensure achieving that structured fullness we all love.
And there you have it! A beautiful, layered velvet and gold bow with a luxurious designer-inspired look, made with just $9 worth of materials.
A Luxurious Look That Makes Sense
One of the things I love about Rich Ribbon is that it offers the look and feel of luxury without the traditional luxury price tag. You can create beautiful projects, experiment with different designs, and get more out of every roll.
With enough ribbon for up to five of these bows, you have plenty of possibilities. Use them on wreaths, Christmas trees, or throughout your home for a coordinated look.
Whether you're an experienced bow maker or learning something new, I hope you'll enjoy trying this design.
Beautiful ribbon, thoughtful design, and a little creativity can go a long way.
Happy bow making!